A step-by-step guide to setting up a recording space, including recommended equipment and software!
Creating music can be a challenging and complex process, especially when it comes to recording. That's why having a dedicated recording space is crucial for any musician who wants to capture their creativity and share it.

Music is an art form that touches the souls of millions of people around the world.

Musicians create music that resonates with their listeners, telling stories and evoking emotions. However, creating music can be a challenging and complex process, especially when it comes to recording.
That's why having a dedicated recording space is crucial for any musician who wants to capture their creativity and share it.
In this step-by-step guide, we'll walk you through everything you need to know to create a functional and high-quality recording space in your own home.
We'll cover the recommended equipment and software that you'll need, and provide tips and tricks to help you get started.
Step 1: Choosing the Space

When choosing a room to use as your recording location, it is essential to take into consideration the amount of ambient noise both in and around the room. You should select a room that is as tranquil and undisturbed as possible, free from any commotion or interference from the outside world.
This means avoiding rooms that are adjacent to high-traffic areas or streets that have a lot of foot activity.
When selecting a space, the acoustics are another important aspect to take into consideration. You should select a space that does not have any echoes in it so that you can record the most authentic sound possible.
Sound waves have the potential to reflect off of hard surfaces, such as concrete floors, bare walls, and high ceilings, which can result in an unwelcome reverberation in the room. It is recommended that you search for rooms that have carpeted floors, drapes, or other soft surfaces, as these will help to absorb sound and decrease echoes.
In terms of square footage, a recording studio can be as small as an extra bedroom or as large as a garage. Most of the time, these rooms are big enough to hold recording gear and instruments, but they are still small enough to keep the recording process under control. In addition to this, these areas are typically very simple to get into, and it shouldn't take too much work to transform one of them into a recording studio.
When choosing a room, it is essential to take into consideration how close it is located to the various other parts of your house. You should pick a room that is remote enough from the other living spaces in the house to reduce the amount of disturbance that it causes but is close enough to be readily accessible.
After you have determined which area will best accommodate your recording needs, it is time to begin preparing the recording space. This means getting the right recording equipment, setting up your recording workstation, and arranging the room so that it has the best sound.

Step 2: Soundproofing

You have reached the next stage in the process of building up your recording space. As an engineer, one of your main jobs is to make sure that there is no distracting or annoying background noise on your recordings. If you soundproof your room, you can create an environment that is perfect for recording music without outside noises bleeding in.
Acoustic foam panels and bass traps are both great examples of sound-absorbing materials that can help make the perfect place to record. They come in a lot of different shapes and sizes, so they can be used in a lot of different places. Any sound reflections that are bouncing around your space can also be significantly muffled by the use of a rug or a thick curtain, both of which can work miracles!
It is not necessary for soundproofing to be either expensive or complicated. You can create a recording space that is free from external noises and echoes with a little bit of creativity and effort, which will allow you to concentrate solely on your music. This will allow you to record more effectively.

Step 3: Recording Equipment

If you want your recordings to be of a good quality, you need to set up a space specifically for recording. After you have determined the appropriate location and soundproofed it, it is time to select the appropriate pieces of equipment. During this stage of the process, you will be tasked with selecting the highest quality microphone that you can afford, an audio interface, a set of headphones, and microphone support/stand.
Microphones can be another blog post entirely! However, as a beginner recording at home, choosing the right microphone is crucial for achieving high-quality recordings. There are many different types of microphones, but two classic choices are the Shure SM58 and the AKG P220. The Shure SM58 is a dynamic microphone that is ideal for recording vocals and instruments. It's known for its durability, affordability, and versatility. The AKG P220 is a large-diaphragm condenser microphone that is great for recording vocals, acoustic guitars, and other acoustic instruments. It's known for its warm, clear sound and excellent sensitivity. Both of these microphones are great options for beginner musicians looking to set up a home recording studio.
An audio interface is a piece of hardware that lets you connect your computer's microphone to the computer itself. This lets you record and play back audio. It is very important to choose an audio interface that not only works with your computer but also has the inputs and outputs you need for your recording set-up.
The audio interface acts as a bridge between your analog instruments and your digital recording software, and it's important to choose one with good quality preamps and converters to ensure high-quality recordings. Some great entry-level options for audio interfaces include the Focusrite Scarlett series, the Presonus AudioBox series, and the Behringer U-Phoria series. These interfaces offer a great balance of quality and affordability for beginners looking to set up their home recording studio.
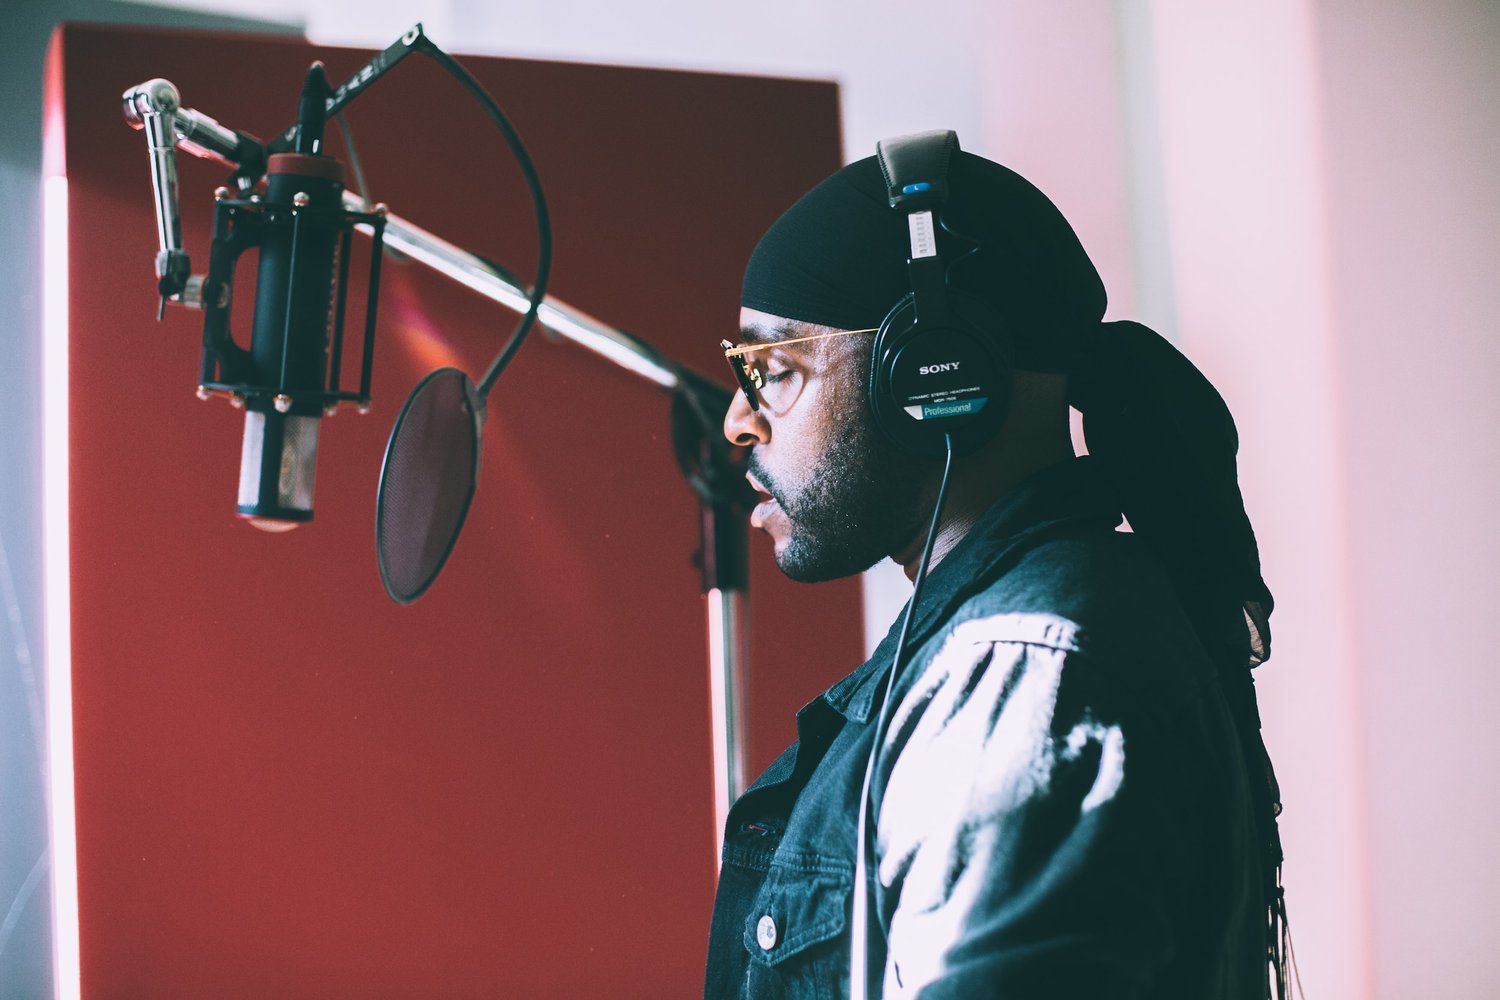
Headphones are an essential piece of equipment for any beginner musician who wants to record at home. They allow you to monitor your recordings and ensure that you're getting the best possible sound. When it comes to choosing headphones, it's important to consider factors such as sound quality, comfort, and durability. When selecting a pair of headphones for accurate monitoring, it is best to look for ones that are not only comfortable to wear for long periods but also have excellent sound isolation and a flat frequency response.
Some popular options for beginners include the Audio-Technica ATH-M50x, the Sennheiser HD280 Pro, and the Sony MDR-7506. These headphones offer excellent sound quality and comfort at an affordable price point, making them a great choice for anyone just starting out with recording at home.
And finally, you'll need a microphone stand to keep your mic steady while you're recording. A good microphone stand should be sturdy and adjustable, so that you can place your microphone at the optimal distance from your mouth and at the optimal angle for producing the best sound.

Step 4: Software

As a musician, you have to make sure you choose the right software for recording and editing your music. The piece of software you choose to use will have an impact on the overall quality of your recordings as well as how easily you can edit and compose your music.
When there are numerous possibilities to pick from, it can be difficult to decide which path to take. When selecting recording software, here are some factors to take into consideration:
Prices for recording programs can vary from zero dollars to several thousand. Before you begin researching your choices, you should settle on an amount that you are willing to spend.
Compatibility: Before you buy any new software, check to see if it will work with your computer's operating system and other components.
Look for a digital audio workstation (DAW) that has a variety of features, such as editing tools, effects, and simulated instruments available. You will have more room for flexibility and originality in your performances as a result of this.
Support: Look for software with a lot of customer support, such as access to tutorials, discussion groups, and help from experts.
Some of the most popular recording software options are Logic Pro, Pro Tools, and Ableton Live.
Logic Pro is a popular choice for Apple users because it is easy to use and has a wide range of features. Pro Tools is very popular among professional recording studios because of how well it can be edited. Ableton Live is the software that many people who make or play electronic music choose to use.
Investing in high-quality recording software can make a big difference in both the sound of your finished audio and the way it is produced.
Choose the software that fits your needs and budget the best, and don't be afraid to play around with it and find out what it can do so that you can create a sound that is uniquely yours.

Step 5: Setting Up

Creating a good place to record your music is one of the most important steps in making high-quality recordings. It is time to begin setting up your space once you have made sure that you have chosen the appropriate area, that it has been soundproofed, and that you are ready to go with your recording gear and software.
The first thing you'll want to do is install your software and connect your microphone and audio interface to your computer. After that, you can move on to the next step. Ensure that everything is correctly configured and that you have all of the required connections and adapters before you start to hook things up.
The next thing you'll want to do is find the optimal location for your microphone mount and your headphones. Depending on the kind of recording you're doing, you might want to try out a few different positions for the microphone in order to find the one that produces the best sound. You should also think about how your recording space sounds and move both your microphone and your headphones to get the best sound.
Recording can begin as soon as your microphone and headphones are set up in the appropriate positions. Before you start recording, check to see that everything is in the proper place and arranged as it should be. Test both your hardware and software to ensure that everything is operating as it should, and make any necessary adjustments to your configuration settings.
In addition to setting up your recording space, it's important to create a place where you can work that is both comfortable and inspiring. This can be done with things like lots of light, comfortable chairs, and a calm atmosphere created by the decor. In addition to this, you need to make sure that everything you require is within easy reach, such as a supply of water, and any additional tools or equipment that you might require at some point.
Creating a recording space doesn't have to be difficult or expensive. With the right equipment and software, you can create a high-quality recording space in your own home.
And don't forget to take the time and learn your software and experiment with different techniques.
Recording is a process that takes time and you cannot rush it!

